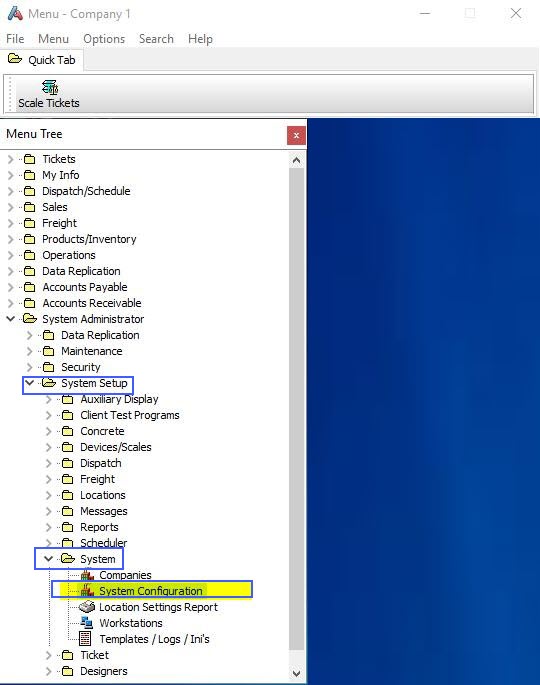
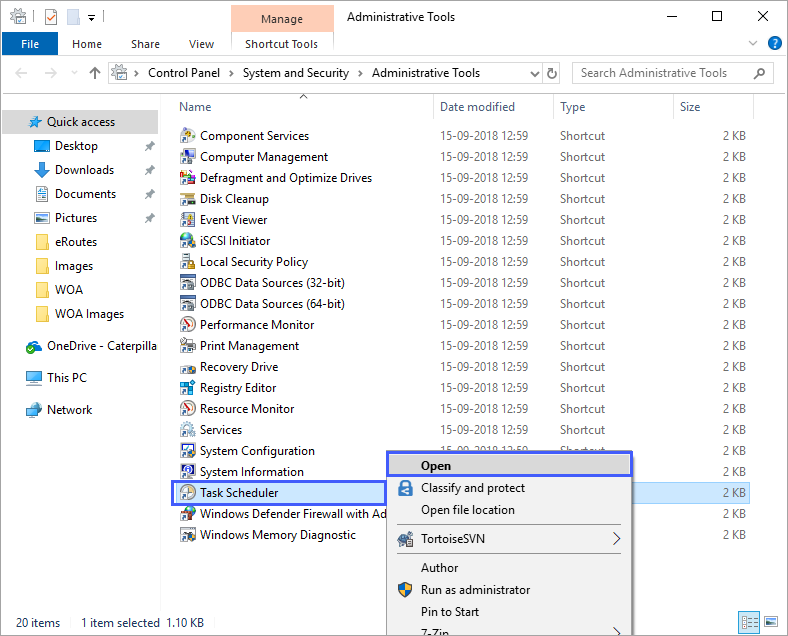
In the Windows Search, enter Task Scheduler or under Windows Administrative Tools, select Task Scheduler.
The
Administrative Tools folder
appears. Click Task Scheduler,
right-click and select Open.
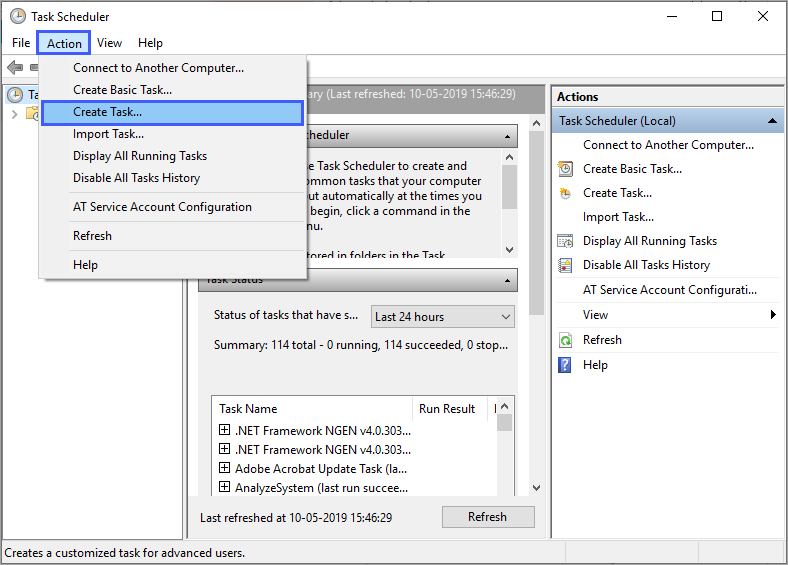
The
Task
Scheduler page
appears. On the Action menu, click Create
Task.
The Create
Task page appears.
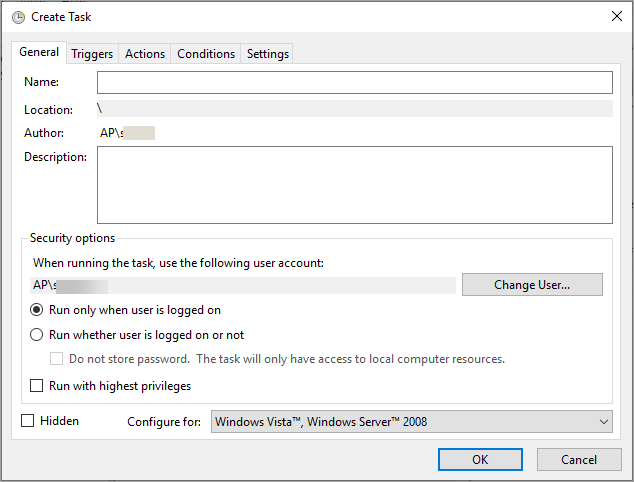
Under General
tab,
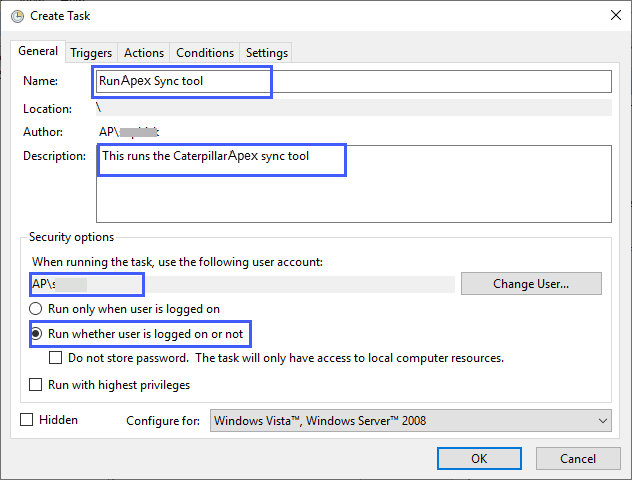
Enter Name and Description of the task in the respective fields.
Under Security Options, select the preferred options to run the task.
Under Triggers tab,
Click New. The New Trigger page appears.
Select Begin the task as At startup from the drop-down list.
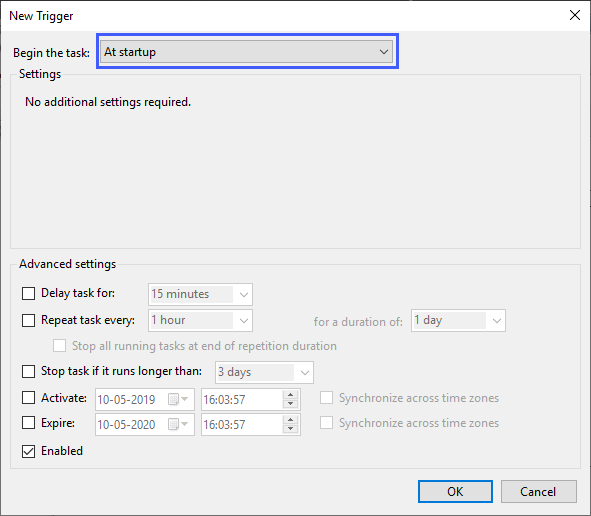
Under Advanced Settings, select the preferred options if necessary.
Click OK. The new trigger for the task is listed in the Triggers tab.
Under Actions tab,
Click New. The New Action page appears.

Select Action as Start a program from the drop-down list.
Under Settings section, click Browse and select Dispatch for Loading Apex Sync Tool .exe file from the directory.
Enter configuration file as -f config.json in the Add arguments field.
Enter the file directory where the Dispatch for Loading Apex Sync Tool .exe file is available in the Start in field.
Click OK. The new action for the task is listed in the Actions tab.
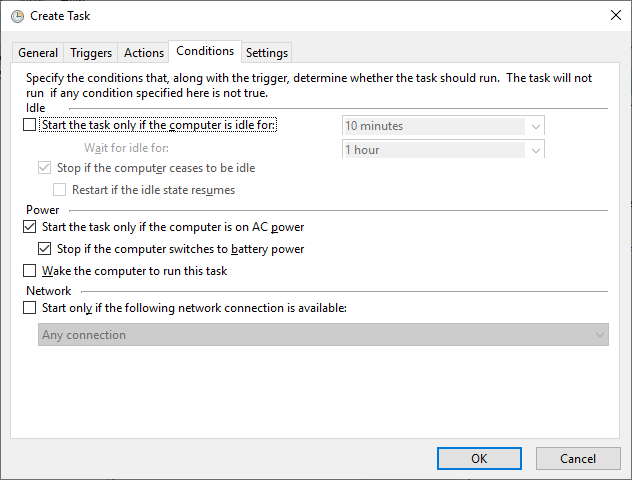
Under Conditions
tab, select the preferred options.
Under Settings
tab, select the preferred options.
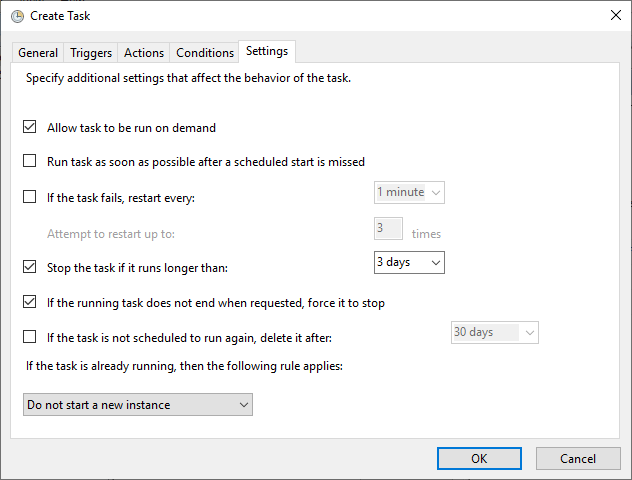
Click OK. The task is created successfully and listed in the Task Scheduler Library page with status.